
Capture with Premiere Pro & Blackmagic
This guide relates to using Premiere Pro CC2023 and earlier. In Premiere CC2024 and later you can no longer capture in Premiere Pro itself and have to use Blackmagic’s own capture application Media Express. You can still use Blackmagic to view the edit in Premiere on a proper monitor.
If you have Premiere you can capture footage either using Premiere or Blackmagic’s own program, Media Express. Media Express does not have any real advantage to Premiere except that when you have problems capturing it is a good test bed. If it does not work with Media Express is will not capture with anything, and you have a real problem on the system. How to capture with Media Express is eplained in the manual.
Open Premiere Pro’s capture module which you will find on the file menu. You can also press “F5”.
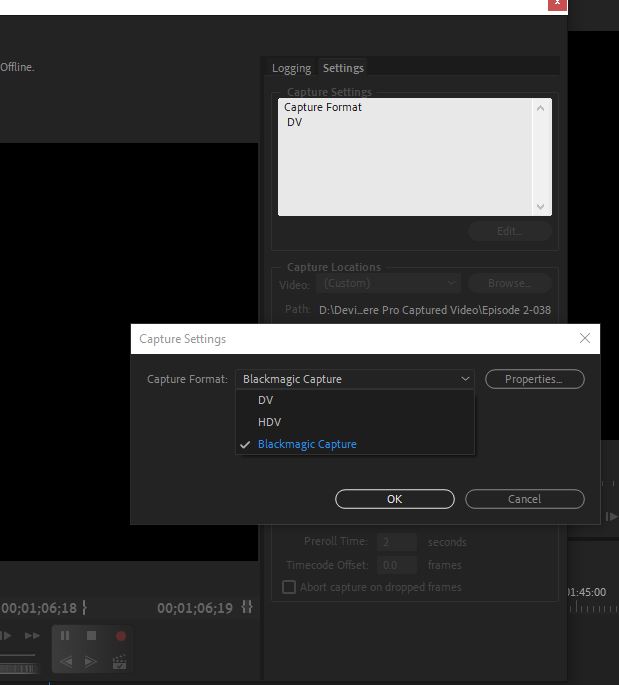
Now that you have the capture window open go to the settings tab. In the white box you will see the currently selected capture device – in my case this is DV.
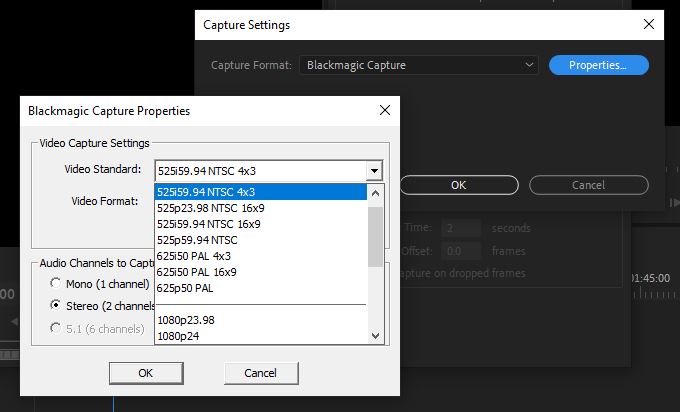
Now click the “properties” button. This will open the dialogue where you tell the computer what format of video you are capturing and also into what format you will capture. The first setting is the “video standard”. Here I am choosing to capture 4×3 PAL. This box will show you all the possible options. If you choose the wrong one – for example 1920 50i, but input standad def, you will not see a picture or be able to capture. Most of the time you will be capturing standard definition as most HD is copied from a card and not captured.

The next setting is in the second drop down box. Here you have to choose into which format you will capture. Blackmagic offers two variations of uncompressed – 8bit & 10 bit, plus motion JPEG, DV and DVC Pro. Uncompressed will give you the best pitucre but takes up lots of space. You will need a solid state drive to capture HD uncompressed although a modern normal drive can probably cope with SD uncompressed.
The compressed options are MJPEG and DV. MJPEG can do a good picture but with Blackmagic is stuck at a particular setting which sometimes has atrefacts in the image. DV has less colour information but was always good enough when filming with a DV camera so I use that for standard def.
For HD you cannot capture into DV so you have MJPEG, uncompressed or DVCProHD. DVCProHD is quite a good compromise compared to space sucking uncompressed or atrefacty MJPEG although it captures at 1440×1080 so technically won’t be quite as good as the original.
Once you have chosen these two options click ok a couple of times to get back to Premiere’s capture window.

What you may have noticed here is that you have not chosen whether you are coming from composite, component or SVIDEO. You do not choose this in Premiere. Instead go to the Windows start menu and look for “Blackmagic Desktop video setup”. Do not close Premiere, you can run this program with Premiere open.
Open this program and you will see a screen similar to this one although with your chosen capture card listed instead of Intensity Shuttle. Click on the round button underneath the words “Intensity Shuttle” to get to the settings.
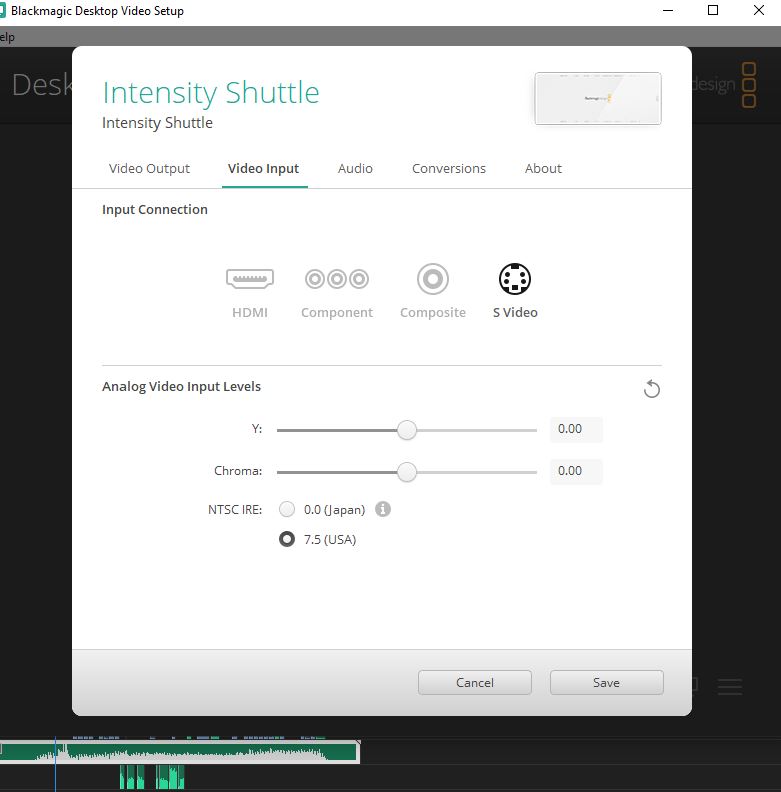
The next dialogue has a series of tabs. Go to the input tab. The main thing here is to choose HDMI, component etc. Click save and then go back to Premeire’s capture screen and play your soucre video. You should be able to see a picture and can capture.
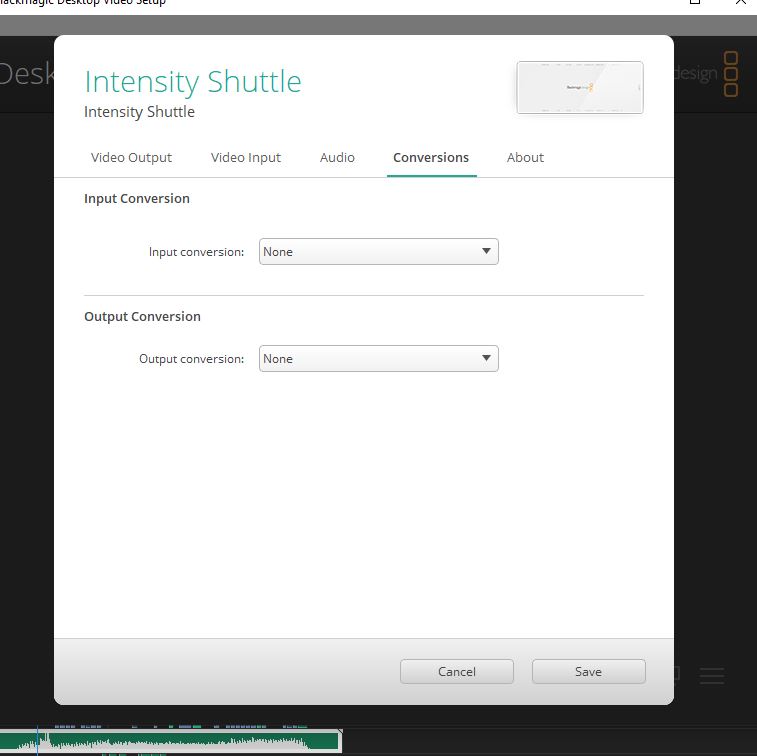
On the other tabs there are things to do with capture. On the conversions tab you can choose to convert the footage as you capture – turning SD into HD for example. My advice is do not bother – you can rescale in Premiere afterwards with more control. The same goes for the tabs where you can adjust the brightness and contrast when capturing and the audio levels.
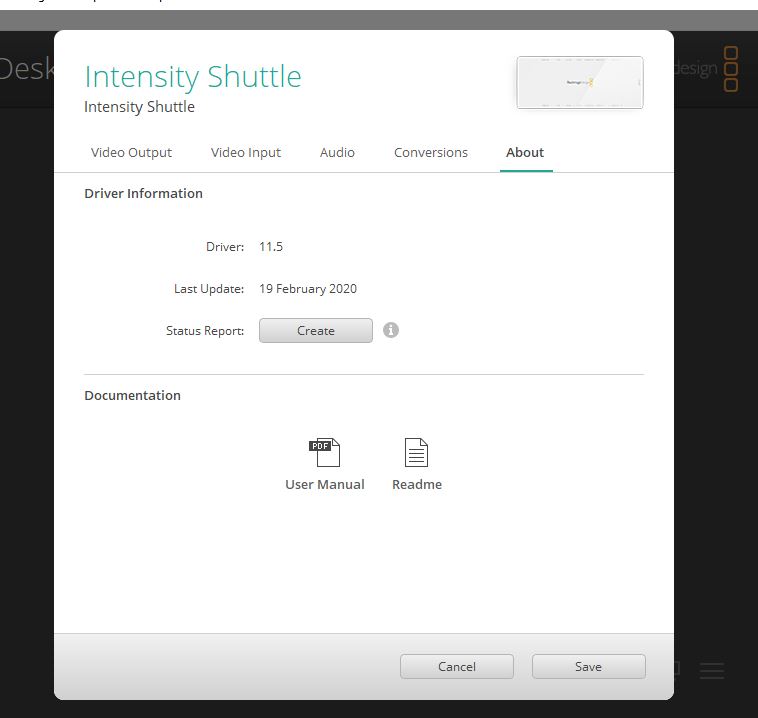
On the final tab you can see the version of the drivers which you have installed – in my case 11.5 – and also a link to the manual. The manual does not cover capturing in Premiere but does talk about other programs.
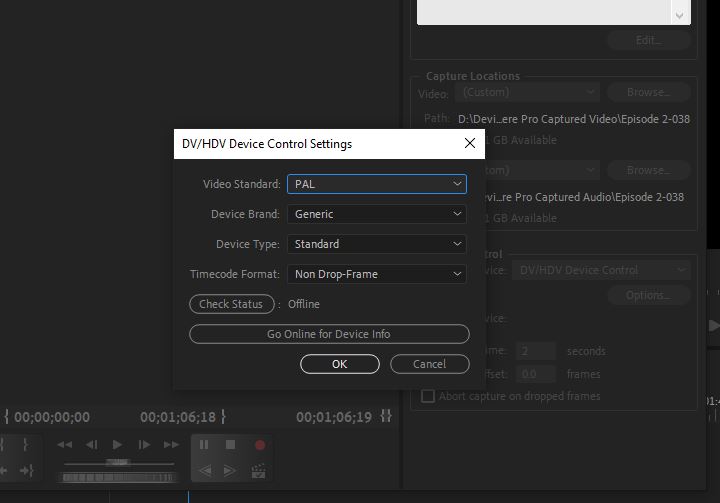
The final thing can fiddle with is back in Premiere. With the capture window open you will see timecode written beneath the capture window. This is not much use because you cannot control the deck when capturing through analogue. However, if you see 00;00;00;00 instead of 00:00:00:00 (the difference is the ; instead of the ? the computer will be assigning an NTSC timecode to your video. This does not really matter but if you want to change it got to the settings tab and device control. Click on “options” and when the dialogue opens choose PAL in the video standard drop down. This should change and give your clips a PAL timecode. Thsi change should also “stick” so you don’t have to fiddle with it again.
If you don’t do this the clips will still play at 25FPS because that is how you are capturing them but there maybe an issue at some point in the future (although probably not)